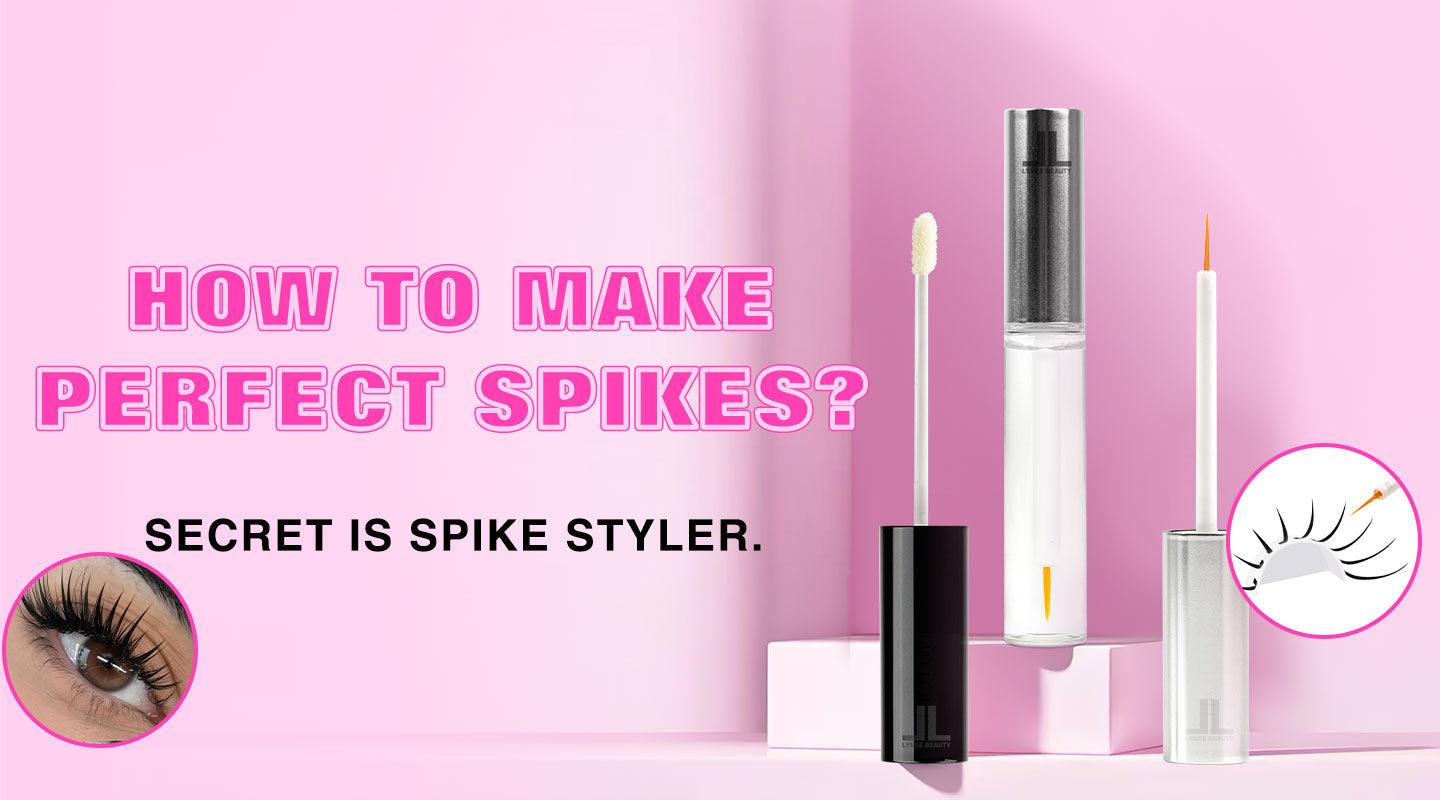
Spiked lash extensions have taken the beauty world by storm—think bold, textured lashes with defined “spikes” that add drama and dimension to any look. Whether you’re going for a Y2K-inspired vibe, editorial edge, or just want to elevate your everyday lashes, mastering the spike technique is a game-changer. But creating clean, long-lasting spikes isn’t easy—until now. Enter the Lymee Beauty Spike Styler: the tool that simplifies spike-making for pros and beginners alike. Let’s break down how to craft perfect spikes, why this styler is a must-have, and how to get salon-worthy results every time.
What Are Spiked Eyelash Extensions?
First, let’s clarify: Spikes are clusters of 3–5 lash extensions bonded together at the base, creating a sharp, pointed tip that stands out from the rest of the lash set. Unlike uniform classic or volume lashes, spikes add texture—think “wispy with attitude.” They’re versatile too: scattered sparsely for a subtle pop, or grouped densely for a bold, editorial look.
The challenge? Without the right tools, spikes can look messy, uneven, or fall apart quickly. Traditional methods (like hand-pinching lashes with tweezers) require steady hands and hours of practice. But with a dedicated spike styler, you can skip the frustration and nail the look in minutes.

Why You Need a Spike Styler (Spoiler: It’s a Game-Changer)
Creating spikes by hand is tricky. Tweezers can crush the lash base, glue can seep unevenly, and getting consistent length/shape across both eyes? Nearly impossible. The Lymee Beauty Spike Styler solves these pain points with smart design:
- Precision Brush: The tool features tiny, evenly spaced brush that hold 3–5 lash extensions in place, ensuring they’re aligned perfectly before gluing. No more lopsided spikes!
- Ergonomic Handle: Designed for comfort during long sessions, it reduces hand fatigue—critical for pros juggling back-to-back clients.
-
Versatile Sizing: Works with all diameters but is best suited for 0.05 - 0.10 lashes.
As divine lashes experts note, “A good spike styler turns guesswork into a repeatable process.” Whether you’re a seasoned artist or just starting, this tool cuts down on errors and speeds up application time.
Step-by-Step: How to Make Spikes with Lymee Beauty Spike Styler
1.On the Lash Strip (For Lash Artists | Before Application)
-
Apply a little amount on the tip of the lash strip
-
You can use a lash comb to separate and define each spike.
-
Spikes stay perfectly closed and are easy to pick up.
-
Spikes will remain closed even after brushing and washing
2.On the Lashes (For Lash Artists & Clients | After Application)
-
Take Spike Styler on a micro swab and apply on the tips of lashes | spikes.
-
You can use tweezer to bring lashes | spikes together to create perfect effect (anime, manga, wet, wispy, textured, spikey)
-
Do not brush after applying (similar to hairspray or gel in hair styling).
-
After washing, lashes return to their original form.

Pro Tips for Stunning Spikes
- Choose the Right Glue: Fast-drying glue (1–2 second setting time) works best—spikes need to hold their shape immediately. Lymee’s Lash Bond (sold separately) is formulated for spike work.
- Avoid Overloading: 3–5 lashes per spike is ideal. More than that adds weight, causing natural lashes to droop.
- Clean Up Excess Glue: Use a dry micro-brush to wipe away any glue that oozes beyond the base—this keeps spikes looking sharp.
- Practice Placement: Map out your lash design first (draw dots where spikes will go) to avoid uneven spacing.
Get Spike-Ready Today
Ready to level up your lash game? The Lymee Beauty Spike Styler is your shortcut to salon-worthy spikes. Whether you’re creating looks for clients or upgrading your personal lash routine, this tool makes sharp, long-lasting spikes achievable for everyone.
Don’t let messy, uneven spikes hold back your creativity. With Lymee’s Spike Styler, every lash set can have that “wow” factor—effortlessly.
Shop now and start spiking!
